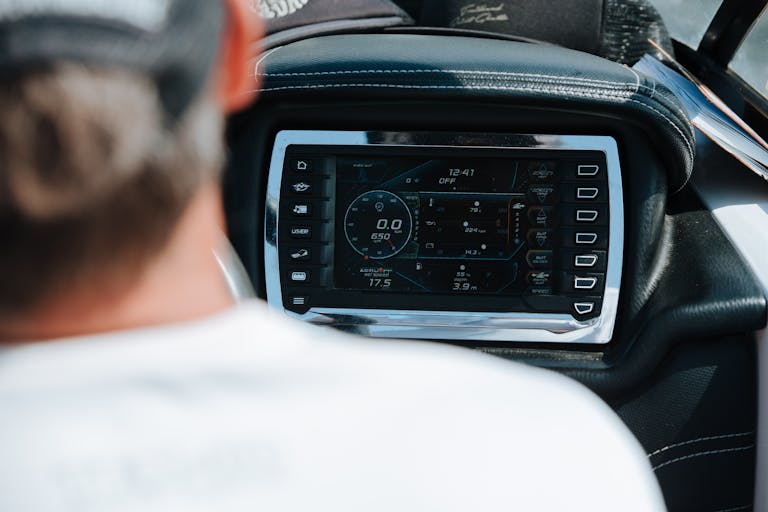
Boat electrical problems can range from simple issues like blown fuses to more complex faults involving the wiring or onboard systems. Troubleshooting these issues effectively requires a systematic approach. Here’s a step-by-step guide to diagnosing and fixing common boat electrical problems.
1. Understand the System
- Familiarize Yourself: Know the layout of your boat’s electrical system, including the battery setup, breaker panel, wiring routes, and key components such as the alternator, shore power connections, and various switches.
- Use a Diagram: Have a wiring diagram handy. It will help you trace circuits and identify where components are located.
2. Check for Power Supply Issues
- Battery Condition: Ensure your batteries are charged and in good condition. Check the voltage with a multimeter (fully charged batteries should read around 12.6 volts or higher).
- Connections: Inspect battery terminals and cables for corrosion or loose connections. Clean and tighten as needed.
3. Inspect Fuses and Circuit Breakers
- Fuses: Check all fuses for continuity. Replace any that are blown.
- Circuit Breakers: Reset any tripped breakers. If they trip again, this indicates a fault in the circuit.
4. Examine Wiring and Connectors
- Visual Inspection: Look for frayed, damaged, or corroded wires. Pay special attention to high-moisture areas.
- Wiring Continuity: Use a multimeter to check for continuity in suspect wires. A lack of continuity indicates a break or bad connection.
5. Test Components Individually
- Switches: Test switches for continuity to ensure they are functioning properly.
- Relays: Test relays to see if they activate correctly and pass current when energized.
- Lights and Devices: Directly test lights and devices with a known good power source to confirm if they work.
6. Trace Electrical Circuits
- Isolate Circuits: Work systematically by isolating circuits and testing them individually. This helps narrow down the location of the problem.
- Use a Test Light: A test light can quickly identify power at various points in a circuit.
7. Grounding Issues
- Check Grounds: Ensure all grounding points are clean, tight, and free of corrosion. Poor grounding can cause a variety of electrical problems.
8. Address Specific Problems
- No Power: Start at the source (battery) and follow the circuit through to the device, checking for voltage drops or breaks in the circuit.
- Intermittent Issues: These are often due to loose connections or corroded terminals. Wiggling wires and connectors while testing can help identify the issue.
- Low Voltage: Check for voltage drops across connections and through switches. High resistance in a circuit can cause a significant voltage drop.
9. Use Proper Tools
- Multimeter: For measuring voltage, continuity, and resistance.
- Test Light: To check for power in circuits quickly.
- Crimping and Stripping Tools: For repairing and replacing connectors and wires.
- Electrical Tape and Heat Shrink: For insulating and protecting connections.
10. Document and Monitor
- Keep Records: Document the issues found and repairs made. This helps in troubleshooting future problems and ensures maintenance records are up to date.
- Monitor Performance: After repairs, monitor the system to ensure the problem is resolved and doesn’t recur.
11. Seek Professional Help
- Complex Issues: For complex problems or if you’re not comfortable working on electrical systems, seek help from a marine electrician. They can diagnose and repair issues more efficiently and safely.
Effective troubleshooting requires patience, knowledge, and the right tools. By following these steps, you can diagnose and repair most common electrical problems on your boat.


